In some bikes, especially older ones, the shock is bolted to the swing arm and maybe at best there’s a small bushing that reduces friction and wears. The reason it wears is so that the shock body (cast aluminum) doesn’t.
With the leveraged linking that you find on newer bikes, plus new bikers just doing things better, they’ve replaced that simple bushing with a heim joint that does everything the bushing did but also pivots and has reduced friction.
I had recently replaced the tires on the 690 and upon re-assembly, I noticed a little play in the swing arm. There was no side to side, just play in the vertical direction. With Tomms help we narrowed it down to the shock bearing.
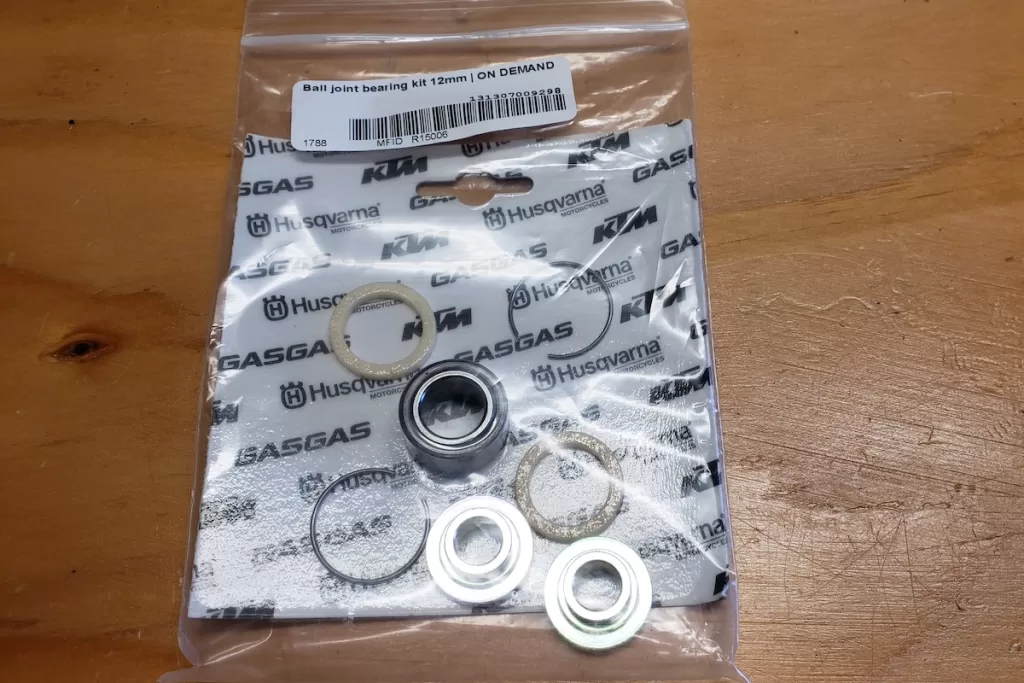
I looked it up and ordered one. They are definitely not cheap. Nothing is cheap, but really, this is a heim joint, two rubber donuts, two circlips, and two spacers.

Within a few days I had the parts on my counter and was ready to go.
Replacement is pretty easy. Step one is removing the shock. That’s done by removing the
- Seat
- Top Rack
- Rear Fender
- Side plastics
- ECU
- Battery
- Fuel Line
And then tilting the subframe/gas tank up and out of the way. Here’s the tank up and out of the way.
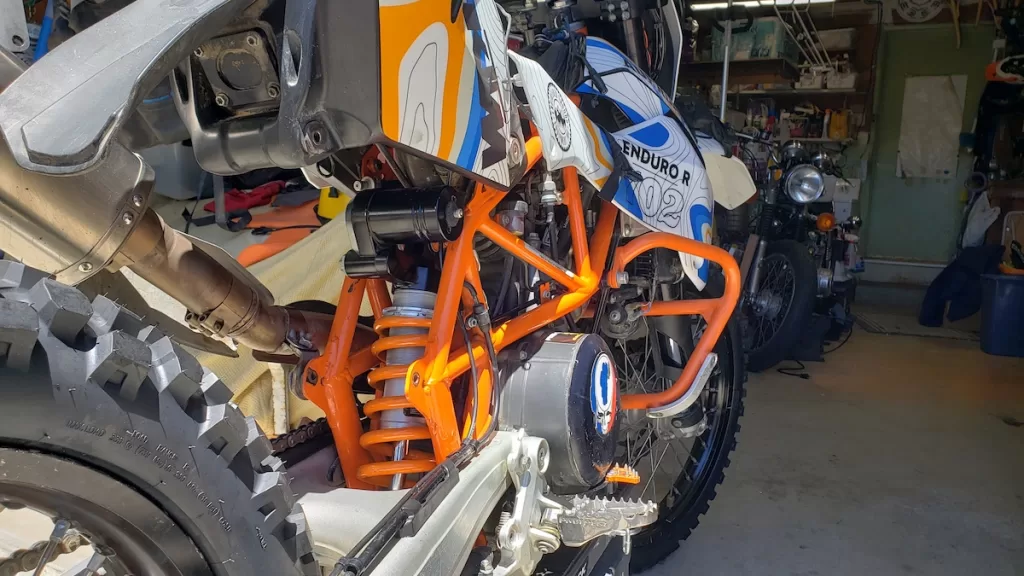
Next remove the upper and lower shock mounting bolts. It’s a 50 Torx and the top bolt is accessible from the left side of the bike while the rear is accessible from the right side.
With the tank tilted up, you can remove the shock from the bike.
With the shock on the bench I confirmed it was indeed the lower bearing.
With the shock removed, I then checked all of the other pivots, bearings and connections on the rear of the bike and they all seemed fine to me.

Next, I removed what I am going to call the spacers from the old shock bearing. They were tough to get out but I added a little heat and that helped. Inside I could see the hammered heim joint.
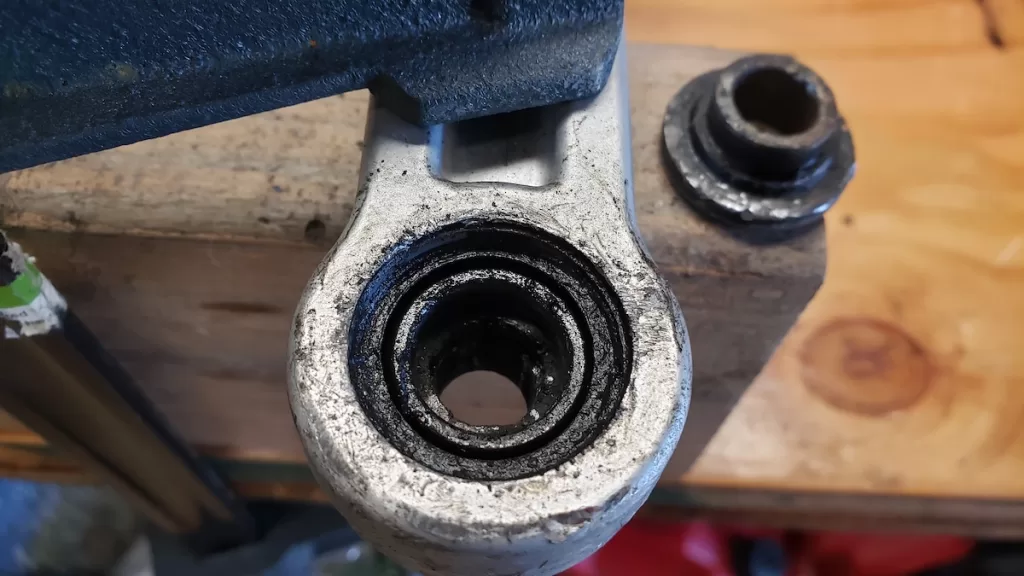
Next I removed the circlip from both sides and then gently pressed the heim joint out.
Here’s all the bad characters removed.

I then cleaned up the internals of the rear shock in preparation for the new heim joint.
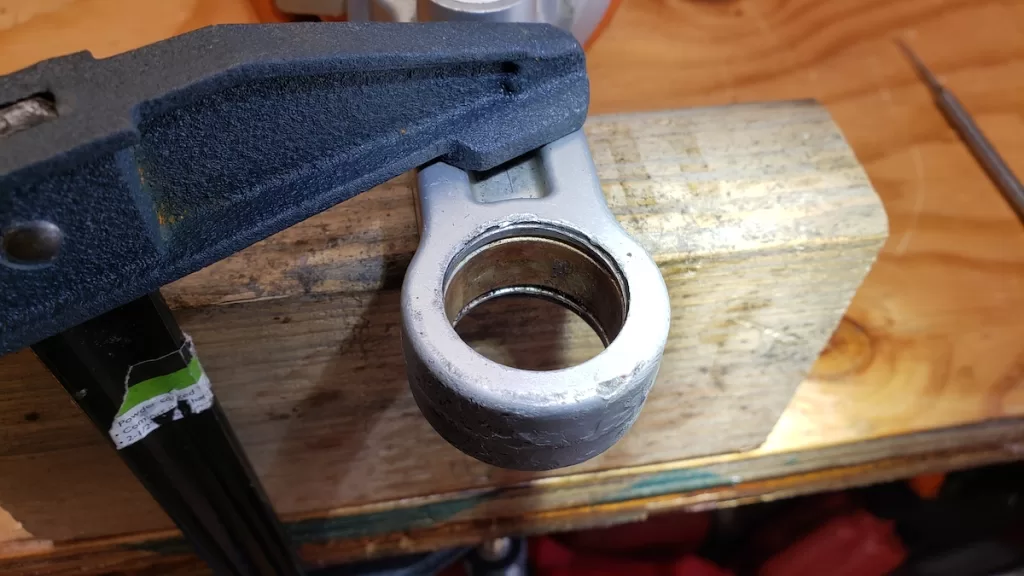
I did a test fit on the new heim joint and it slid right in with just a little grease. I pushed it to the center in the shock body. An 18mm socket was the perfect size to push with.

Next I added the 2 circlips. I’m using a white lithium grease.

And then the 2 rubber seals…

When it came time for the 2 spacers, they were a very tight fit.
I tossed them into the freezer for a few hours. I knew these were a press fit inside the heim joint, so the easiest way to ease the fit was to make these smaller – hence the freezer.
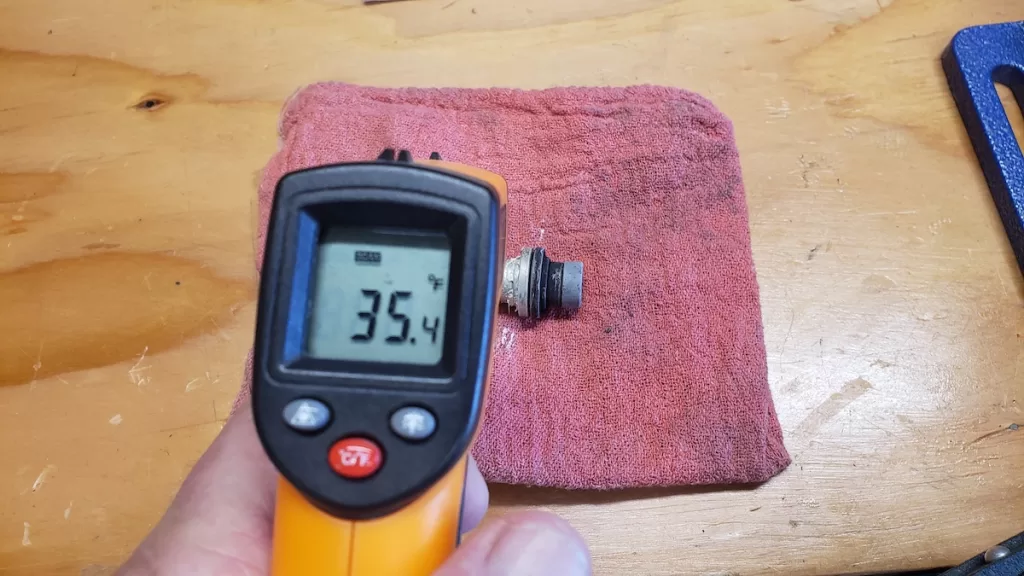
To press them in nice and straight I used one of the mounting bolts, the old spacers turned backwards, and then a nut for the M10 bolt. Just like this.
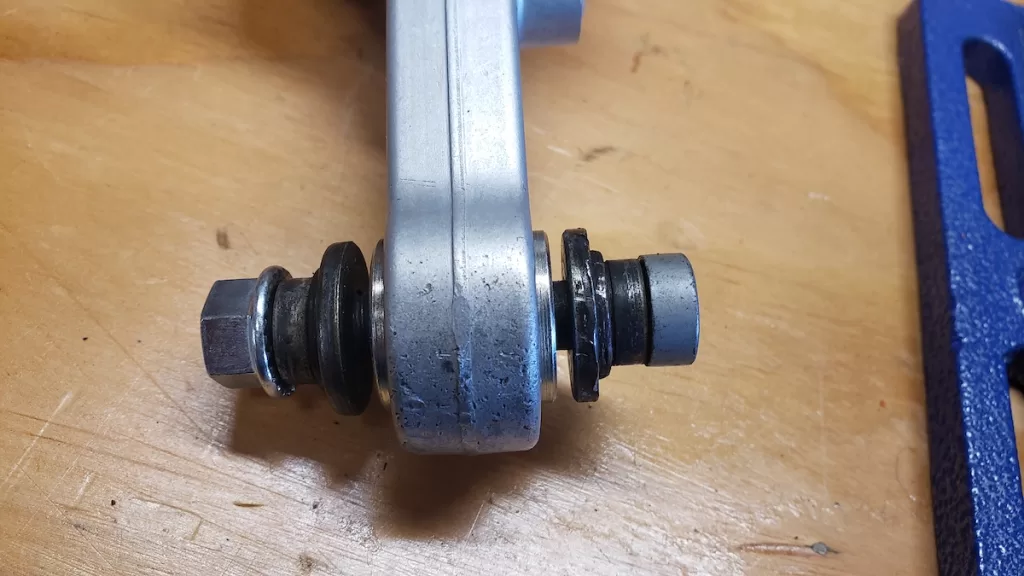
Tightening the bolt and nut drove the new spacers perfectly into the heim joint – easy peasy! It’s a bicycle trick that’s used on a larger scale in your bottom bracket, and a few other places.


I measured the outside diameter to make sure it would fit into the mount and it was right on. From there it was mount everything back in the bike. I checked before taking it off the stand and with and without the shock installed and everything was buttery smooth.
The shock bolts torque at 59 ft pounds, the other bolts are probably 50 ish. Every thread was cleaned and every bolt went back with locktite.
Easy fix. A little expensive for what it was, but an easy fix.
- My 2006 KTM 950 is SOLD! - April 26, 2024
- The Bay Area Adventure Rally - April 16, 2024
- What to Pack on a BDR Trip - March 4, 2024