Time: about 1 hr
Mileage: 19,879
I bought the bike knowing it had at least a single warped disc. I decided to replace both. You could feel the pulsing while coming to a slow stop.
Incredibly, before I could even think about ordering parts, one of my readers (Subie Pete) saw that I mentioned I needed to replace brakes and somehow connected to a friend of his who offered up a new pair of Galfer Greenies! Thanks Noah!
GREEN (Kevlar Ceramic Organic) – If you need to stop on a dime, you better put on the ‘Green’. The Kevlar-organic Green pads offer powerful, initial bite time after time with no fade. The versatility of these pads is unmatched. They can adjust to abrupt temperature and moisture changes and take little time to recover between braking. They can be used in all types of riding whether it is street, dirt, race… and any combination of each. These are better for an aggressive rider, since these offer one or two finger stopping power. If rotor wear is of great concern, the Galfer green is an optimum choice. They won’t last quite as long as the black or OEM pads, but their soft organic material composition causes minimal damage to the rotor surface.
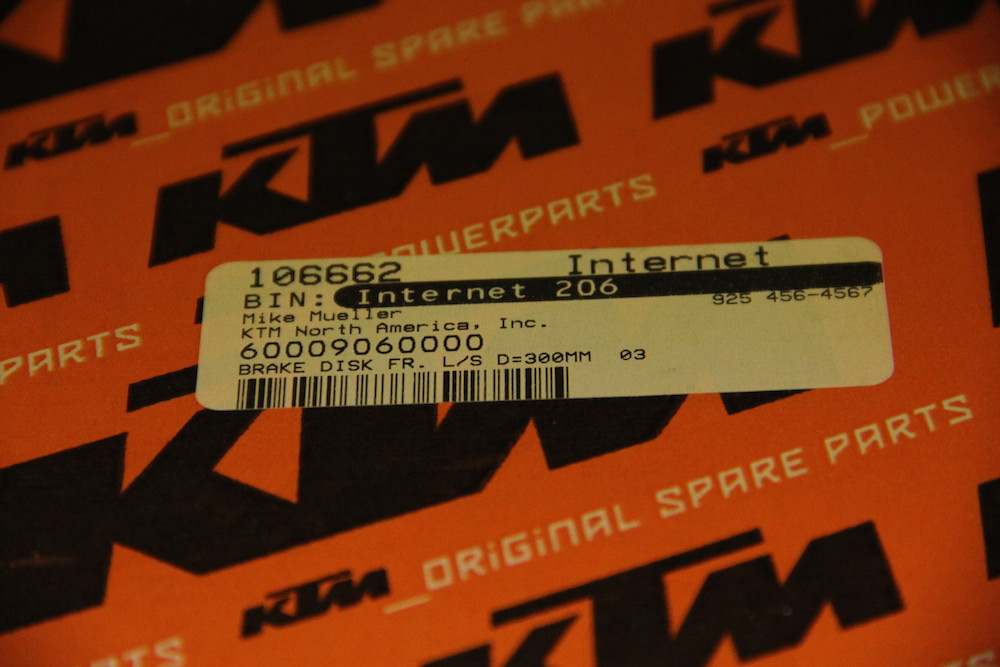
Now, all I needed was the rotors. I called up KTM-Parts and ordered the correct stock units. I debated going with a new wave style rotor but the forums and even the parts guy suggested not to.
A week later they arrived.
I’ve done a lot of work on bikes and the job looked to be a simple one so why read the repair manual, right? Here’s what I did.
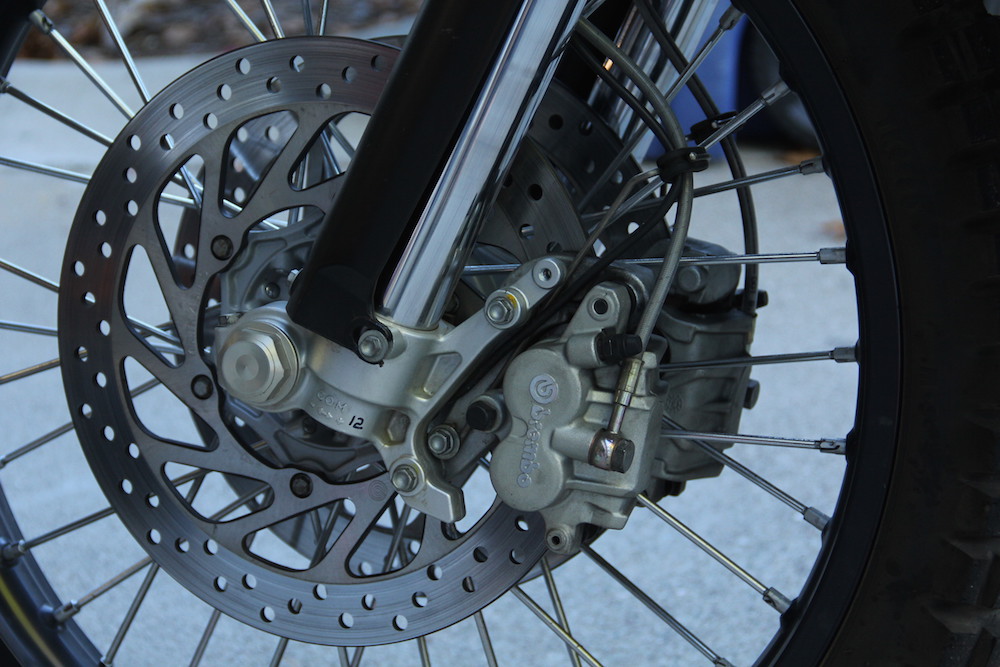
Surveying the bike I could see there are two bolts holding each of the calipers on. The design of the Brembo calipers is such that the pads have to come out from the inside.
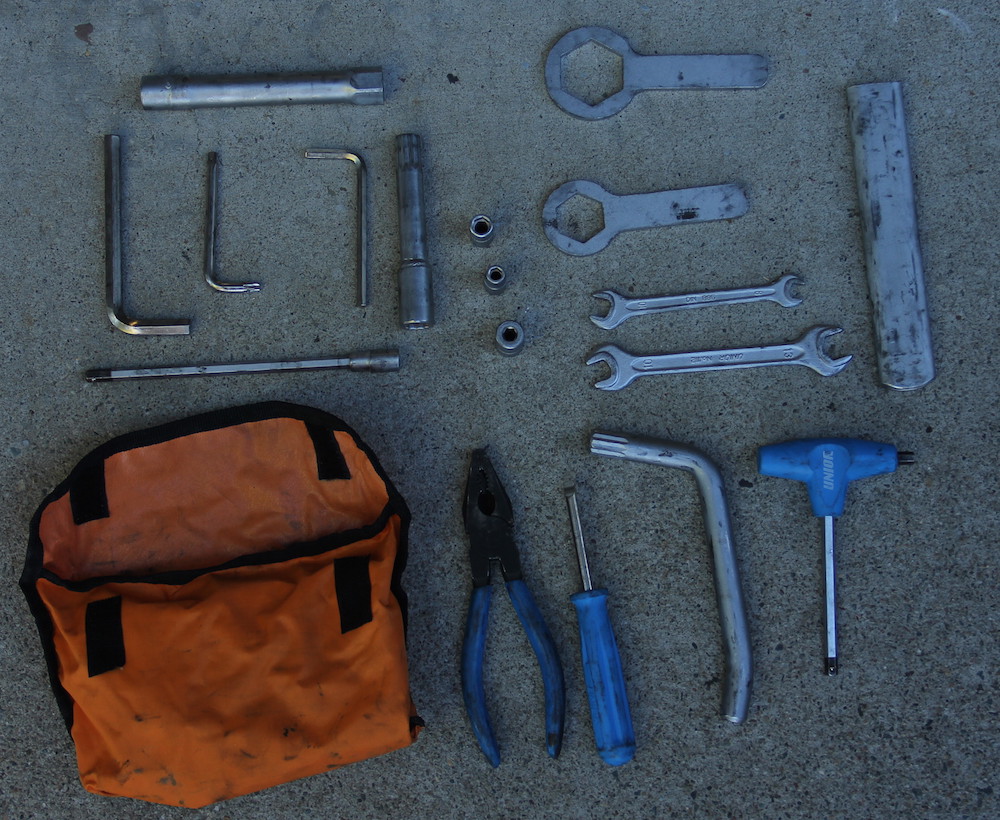
I also decided this would be a great time to see if I could work on the bike with the standard set of tools under the seat. The worst time to find out your lacking a particular tool is 50 miles down a trail. Here’s what I had in my kit.
Step One: Remove the calipers. Put the bike up on the center stand. As for the calipers, it’s just a matter of two bolts on each side. I used the blue handled T wrench, the extension and the 10mm socket. Easy Peasy.
Step Two: Remove the axle clamp bolts on the left side. I used the same T Wrench and socket. If you are quick you’ll notice in the previous I’ve already removed the axle nut. I actually did this backwards so I suggest you go in this proper order.

Step Three: Remove the axle nut. In the kit is a box end wrench that fits with an extension to provide more torque.

It shouldn’t be torqued on too tight. I moved the sleeve closer to the end to give me as much leverage as possible.

Step Four: Remove the right side clamp bolts and slide out the axle. I stuck a finger inside the center of the axle, lifted the pressure off the front wheel and it slid right out.
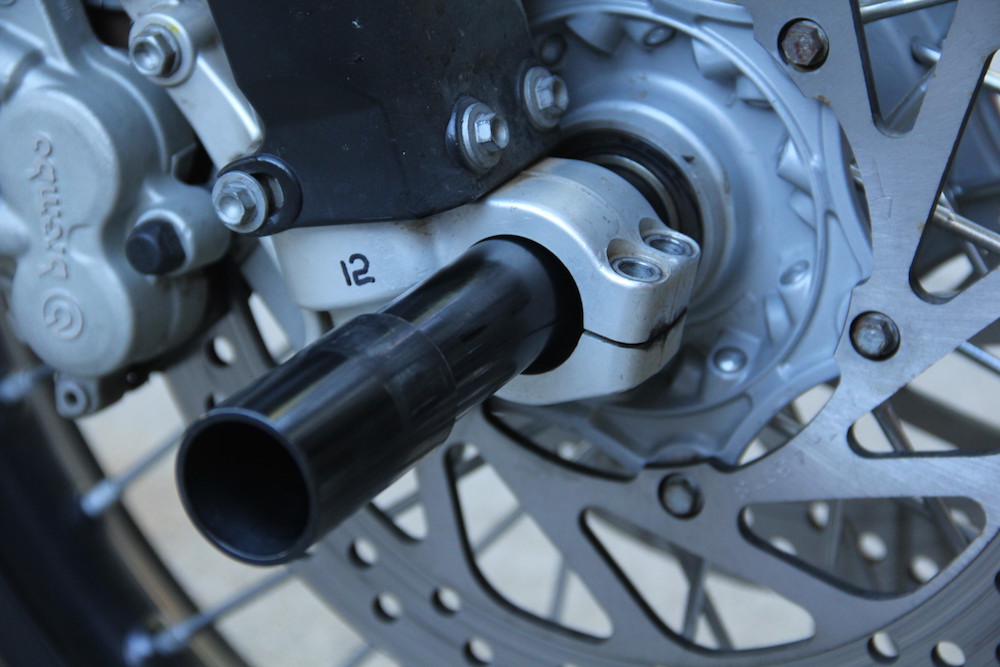
Warning: When you pull the axle the bike SHOULD be rear heavy and rest on the rear tire. It MAY not. Just in case I put something under the skid plate to be safe. For me, it’s like sliding under your car while it’s up on a floor jack without having a few jack stands there just in case.

Support, just in case
When I pulled the axle I noticed a section that had some issues.
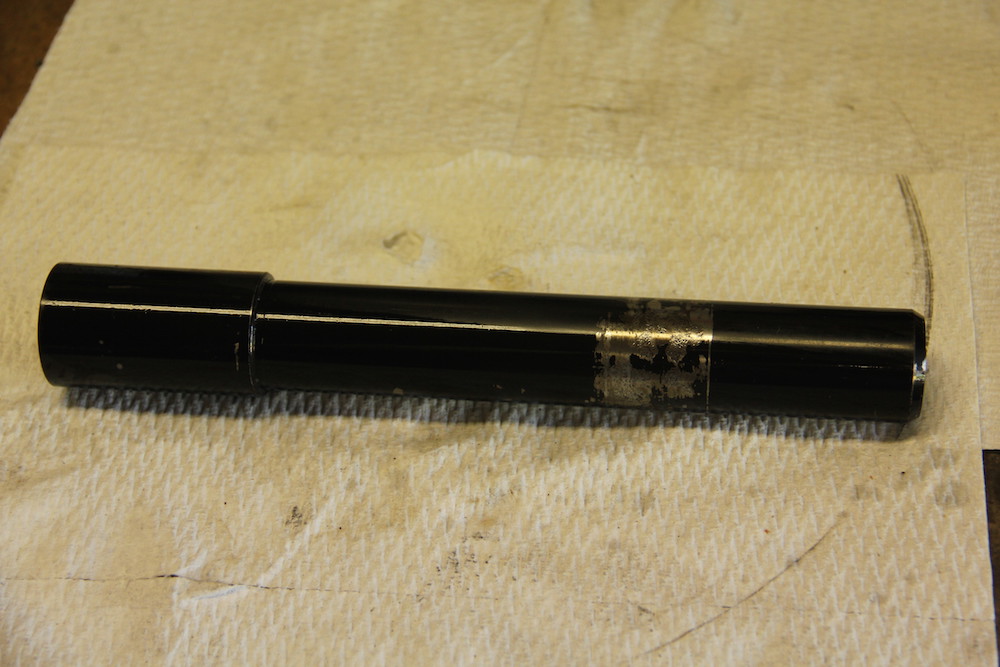
Hmmmmmm…..
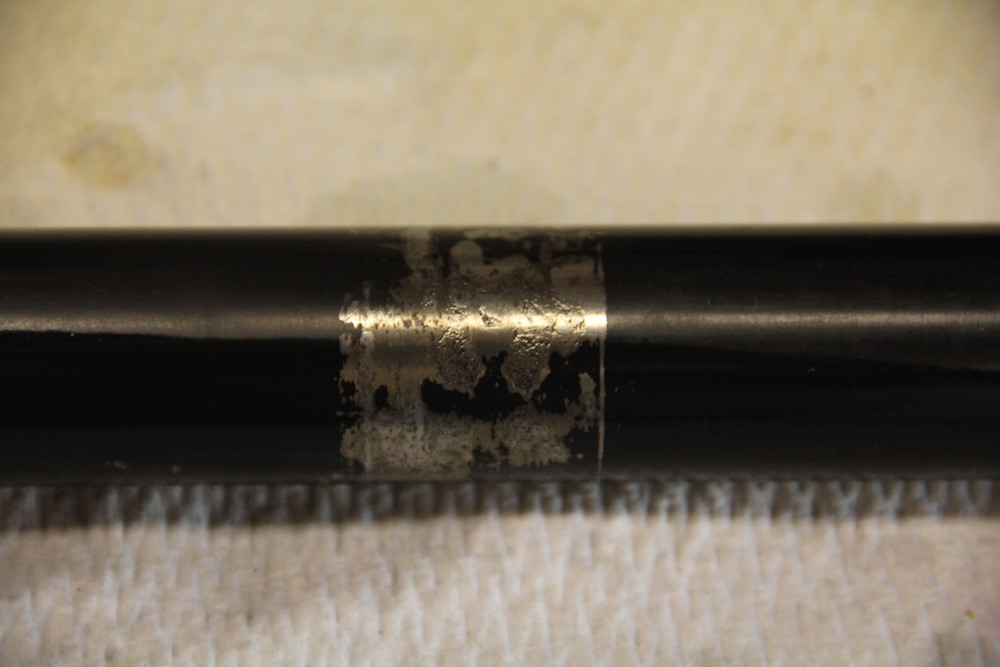
Looks like maybe a bearing had gone bad in the past? Not sure, but I looked to make sure everything inside the hub was good. And it all looked just dandy. I’ll keep an eye on that in the future.

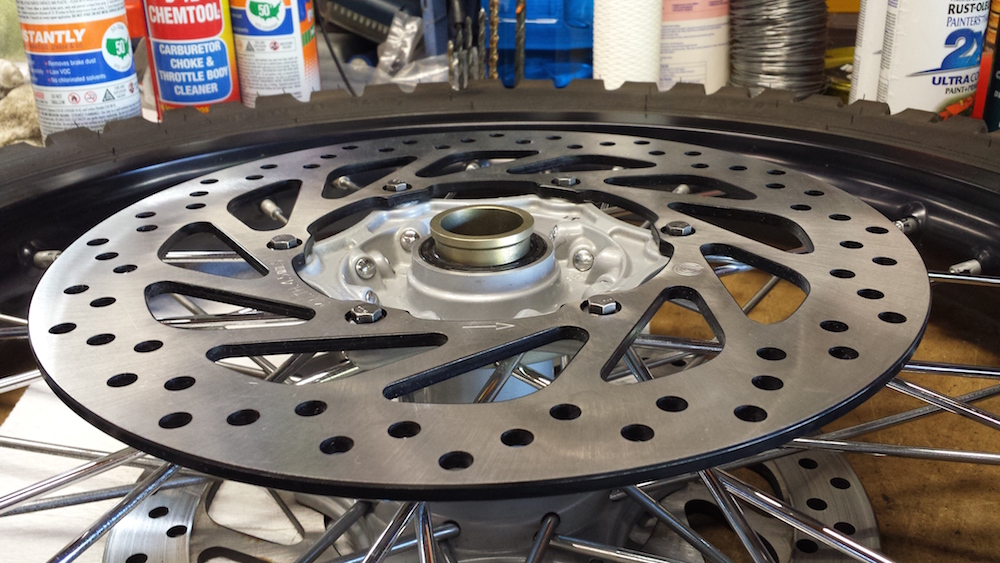
Step Five: Remove and replace the rotors. You’ll notice something in the picture below. First, it’s the left side. I can tell that because the previous owner has marked virtually everything. I know exactly what he was thinking too. With the wheel off the bike you need to know which side you are looking at. The rotors are directional. The other side was marked with a small RT. Pretty cool.
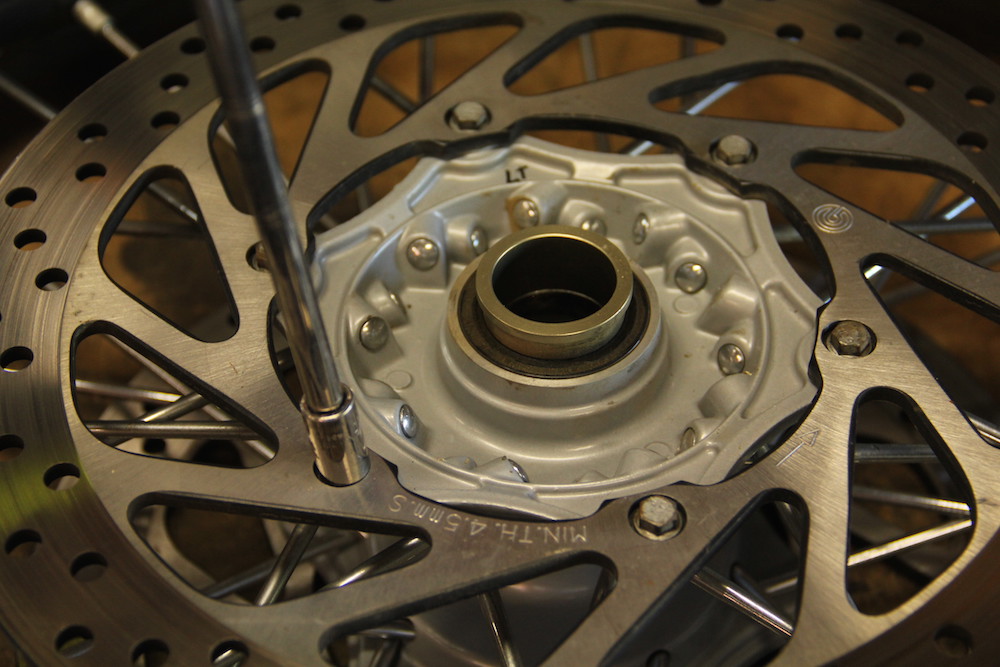
Pay attention to the little arrows on the rotors.

With the rotors off it was a good time to do a little cleaning. I’ve heard of the spokes becoming corroded over time. Mine were a little crusty.

I took a little semi-chrome and polished them up. They took up a very nice shine!
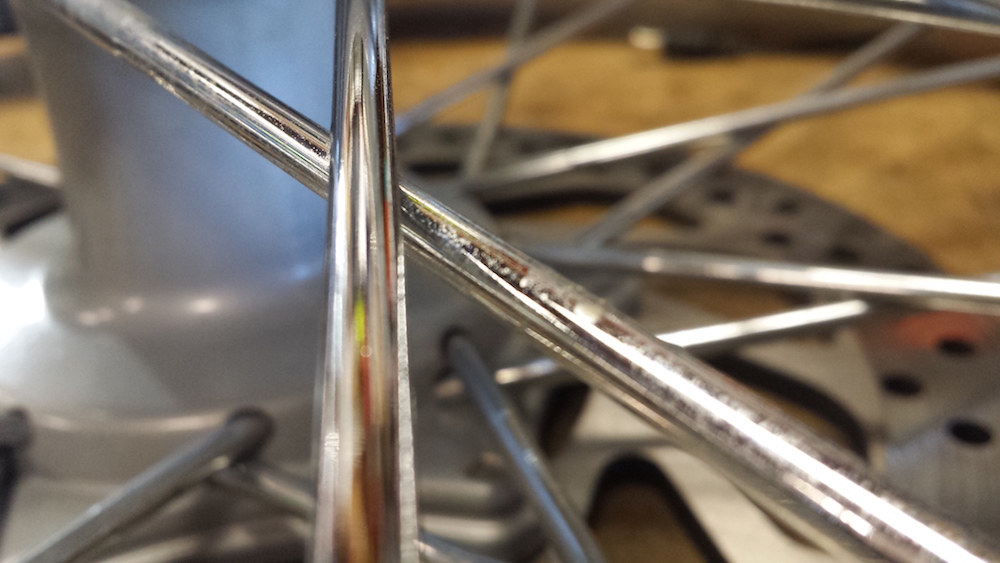
I also noticed that each spoke nipple had a small black mark on them too. I’m a fan of marking bolts like brake calipers for movement but with my bicycle background I can’t say I’d do the same with the spoke nipples. That said, it’s this attention to detail that really sold me on this bike.
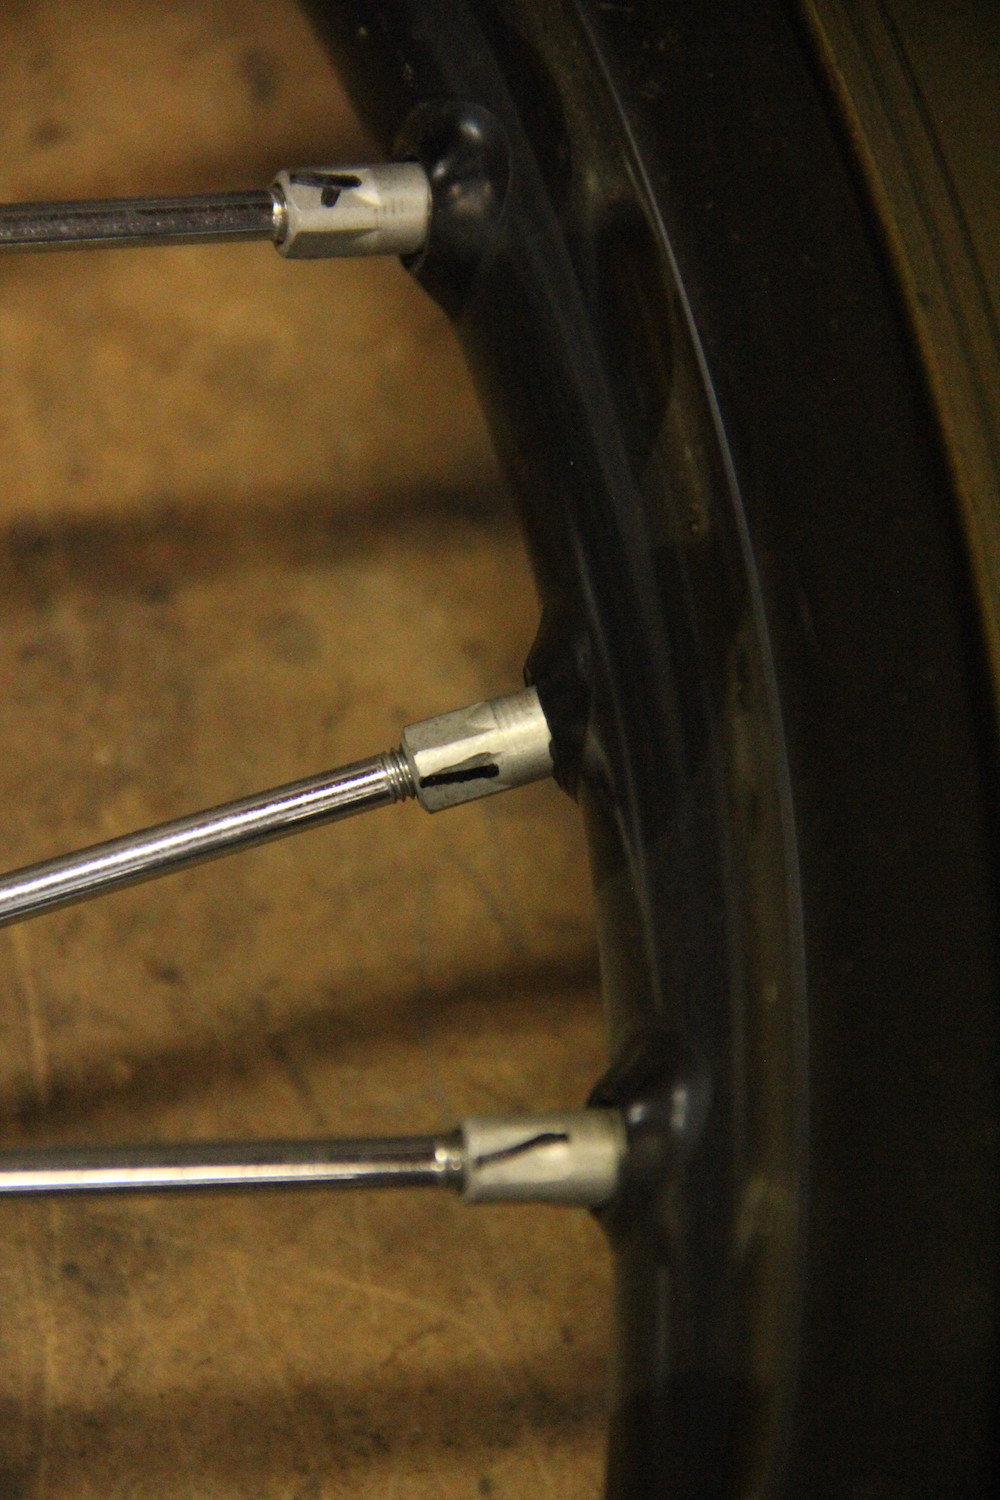
I did check all the spokes for possible looseness (using the tuning fork method). I checked the hub, the rim and the tire too. With everything looking good I bolted up the new rotors. Make sure not to over torque the small rotor bolts and don’t forget to use a drop of Locktite as well. Once it was all together I spent a good amount of time cleaning the rotor with brake cleaner.
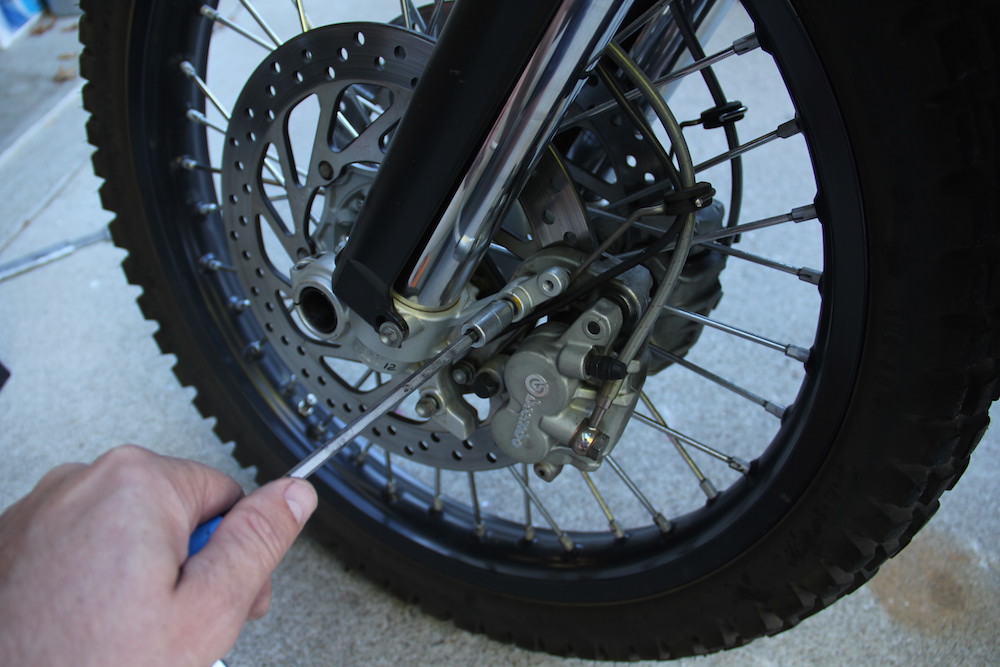
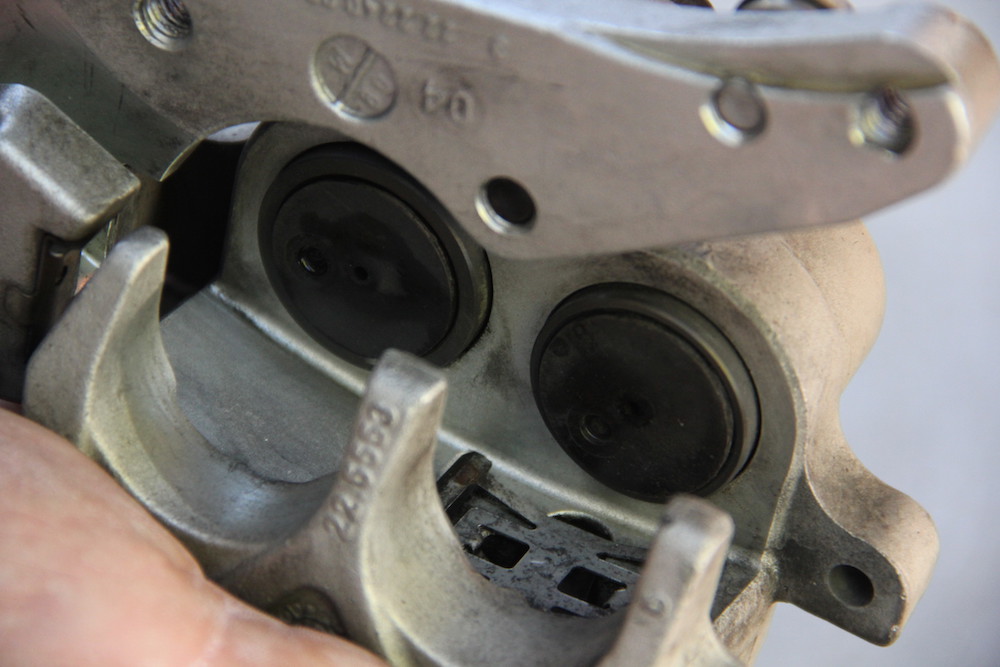
Step Six: Replace the brake pads. With the calipers hanging by their brake hoses, I turned them over. The only thing holding in the pads is a single pin. It has a spring clip making sure it doesn’t accidentally come out. Remove the spring clip and with a small driver, tap the pin out of the caliper. You can see I first tried to move the pin with a pair of needle nose pliers. This might work in the field but the right way is to drive it out like you would with a door hinge.

The old pads should just slide out. Mine still had plenty of life left but it’s always better to put in brand new ones.
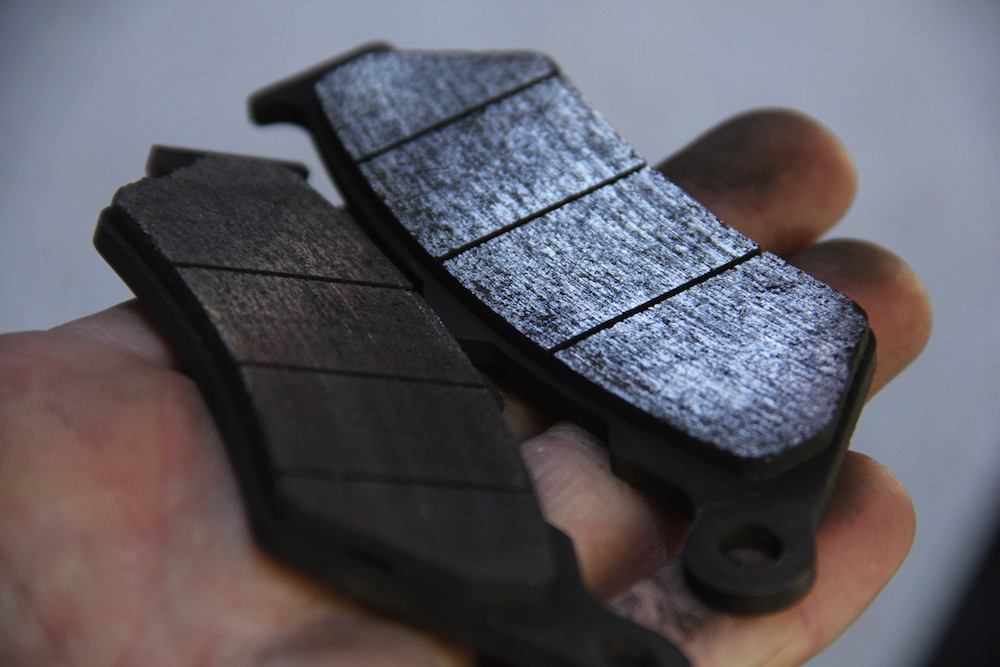
I cleaned up the old ones. It looks like they are on copper plates.
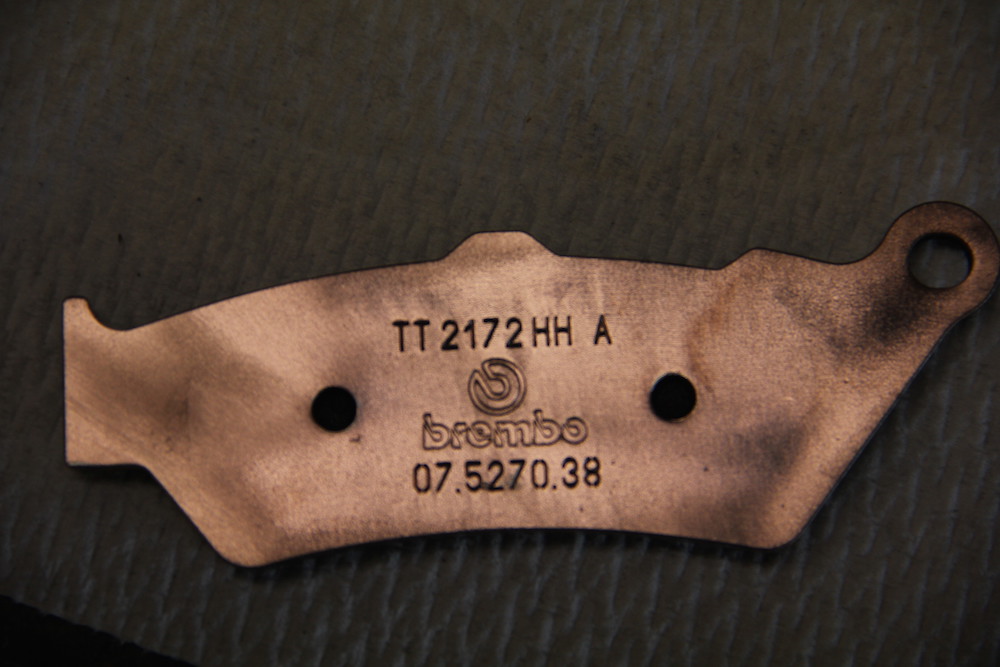
Before installing the new pads I inspected the seals and pistons. They looked fine. I cleaned it all up, pushed back the pistons (I use a small c-clamp) and installed the new pads.

Step Seven: Attach the wheel. With the pads installed it was time to reattach the wheel. It’s easier with the calipers off their mounts. Just align the fork bottoms, make sure you have the spacer (left side) and the thru axle should slide right in. I put a small amount of white lithium grease on the shaft as well.
With the axle all the way in, clamp the right side with the clamp bolts. Don’t forget to use a small amount of Locktite here too.
Next, reattach the axle nut. I didn’t look for a torque spec on it but since I was using the KTM tool kit I knew I couldn’t apply too much. Once the nut is secure, lock it down with the left side axle clamps (and locktite).
Next I checked the wheel for play, made sure it spun freely, and also checked the headset for play or binding.
Step Eight: Attach the calipers. Pay attention to the caliper and the speedo sensor cable routing on the left side. Naturally I wanted the cable to go above the caliper mounting bolt. There’s not enough room for the cable to go above the caliper, it needs to thread through the middle. It looked precarious when I first took it off but after checking it, it’s the way it’s supposed to go.
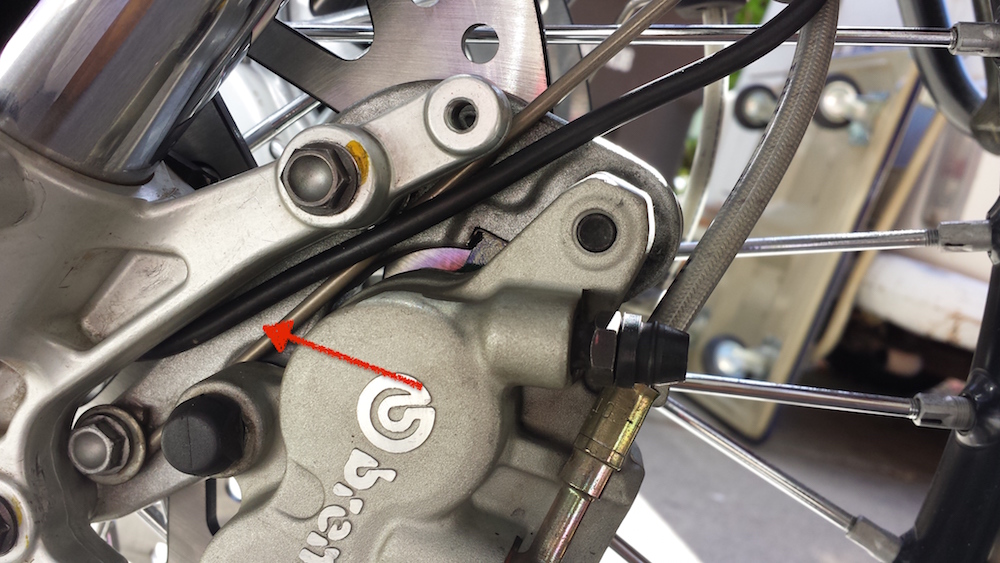
With both calipers attached (remember the locktite) I gave it all another good cleaning with brake cleaner. With a few pumps of the brake lever I moved the pistons back to where they needed to go.
I took it off the center stand and took it out for a spin. Galfer suggests the following to bed the pads in
Brake pads should be bedded in to clean rotors. Start with slow stops ranging from 10-15 mph and increasing in blocks of 10 mph until about 40-50 mph. Repeat this step 2-3 times and resume casual riding. Bedding in brake pads helps prevent glazing and helps to mate the pads to the rotor surface.
Although I haven’t tried a hard stop yet, the brakes feel awesome!

PART NUMBERS:
- Left Side Rotor: 60009060000
- Right Side Rotor: 60009065000
- Galfer Semi Metallic Pads: FD172 G1651
- The Bay Area Adventure Rally - April 16, 2024
- What to Pack on a BDR Trip - March 4, 2024
- I’m selling my 2006 KTM 950 Adventure! - February 16, 2024